Sunday, February 28, 2016

Week #7: Media Arts Curriculum

In the latter half of this week we discussed gifted and talented programs as well as media arts.  We were asked to reflect on Media Arts in the classroom and curriculum.

(Retrieved from: https://www.youtube.com/watch?v=5Y1GpL768Sk) 


Personally, I believe the inclusion of technology and Media Arts in the art curriculum (as well as the curriculum at large) is very important.  Students are more technologically connected and inclined than ever before, and most experience digital media daily outside of the classroom.  Why should the classroom exist as a technology-free vacuum?  Students should be educated about how to interpret, judge, and create media for the virtual world they often live in.  Media Arts provides a unique opportunity to teach about appropriation, parody, subversion, documentation, indexing, photography, critique, and even more through a modern, student-friendly lens.

That being said, I would love to have Media be a part of all my art classes.  I would like to ideally have at least one or two technology or Media-based projects in each class, as well as a specific Media Arts class.  I would need to have access to computers (Mac and PC), cameras, and software such as the Adobe Package (including Photoshop, Illustrator, and Lightroom), iMovie or Windows Movie Maker, and 3-D design software.  The general art classes would only need access to the lab for a number of specific projects, and the Media class would need to be held in the lab every session.  I include the Adobe products simply because they are the industry standard and the best tool available in terms of power and versatility.  Students should be able to learn using the best tools possible in order to prepare them best for the working world, and to allow their artistic work to truly flourish.  The 3-D design software would be included in an absolutely ideal situation.  In the best circumstances I would love for children to be able to experiment with sculpture in the most innovative, modern ways, but I understand that having 3-D printing capability is a lofty goal, one that has not even been reached by the School of Visual Art and Design at USC.

I would love to use the Adobe products for projects in photography, collage or compositing, and advertising.  I have seen great example of lessons including the creation movie-posters, the invention of graphics for an imaginary business, and the re-creation of famous works from art history (as well as the typical photo editing and re-touching projects). 

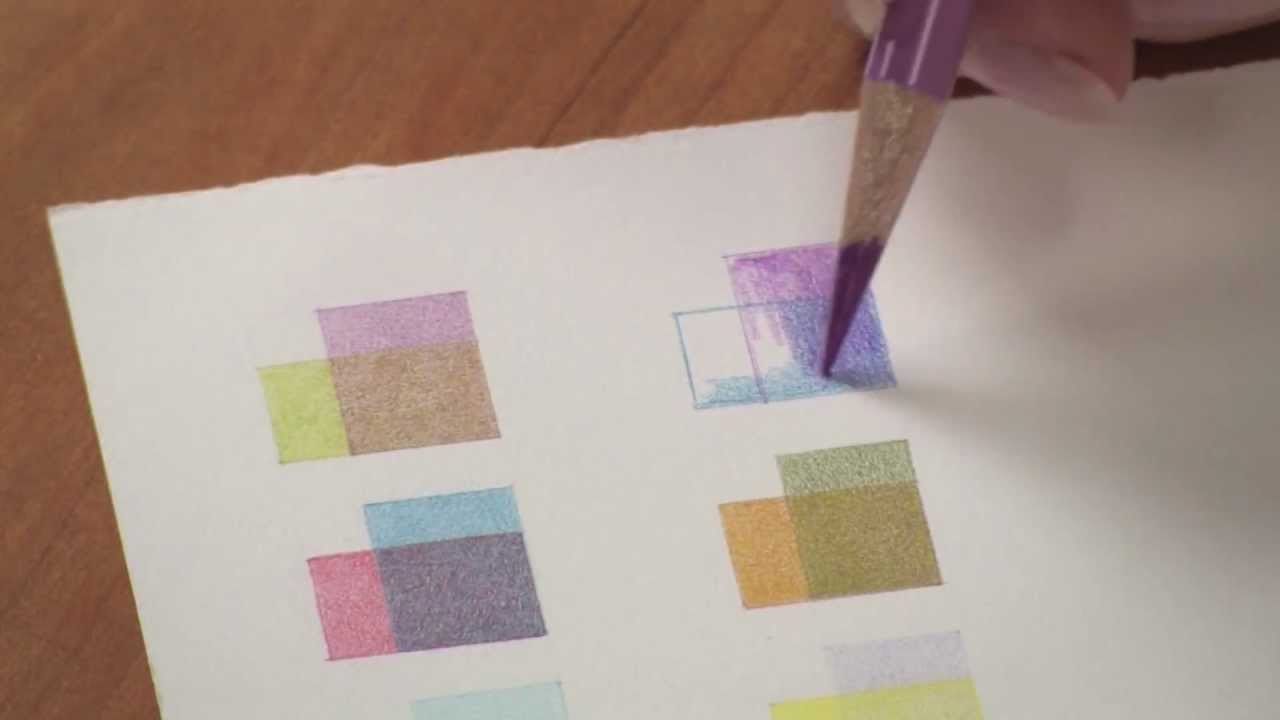
Below are some examples of works I made in media classes:


I would also involve projects in video making using iMovie or Movie Maker.  I always had a blast with these projects myself, and I think that they are especially appropriate for students of the Millennial generation who are so in touch with video-media on Vine, YouTube, and Instagram.  I experienced a great example of the importance of the video medium to current students when I made movies with my younger cousins that they entirely directed and scripted themselves.  As far as the classroom is concerned, I have participated in great video lessons including stop-motion subversion films, advocacy pieces, and creative script films.

Wednesday, February 24, 2016

Week #7: Photography Project

This week and last we spent some time discussing photography techniques and compositions.  We were challenged to create four images of things important to typical college students, each with one of the following photojournalistic techniques:
Disturbance
Proximity
Vantage Point
Place

In addition, each of these images is supposed to exhibit one of the natural, pleasing compositions listed:
Rule of Thirds
Golden Triangle
Golden Spiral

Here are a few of the images I made as examples:

Proximity & Rule of Thirds

Disturbance & Golden Triangle

Vantage Point/Disturbance & Rule of Thirds

Proximity & Golden Spiral

Proximity & Golden Spiral

Vantage Point & Rule of Thirds/Triangle

Place & Rule of thirds

Sunday, February 21, 2016

Week #6: Parent Letter Example

This week we discussed a variety of important topics related to the functioning of your average art classroom including writing parent letters, writing syllabi, exhibiting student art, and participating in National Art Honor Society.  We were challenged to write an example of a letter to parents.  My example can be found below:

_________________________________________________________________________________

Parents and Guardians of Unnamed School Students:

Ladies and gentlemen, I would like to welcome you and your children to my art class.  I am very excited to get to know you all better, and to see what we can create over the course of the semester. 

I want to take a moment to thank you for enrolling in an art class and let you know that you have made a great decision concerning the education of your children.  Art education is vitally important to the development of well-rounded young people prepared for the adult world.  Art teaches children skills related to communication, empathy, collaboration, problem solving, and critical thinking.  Art can give students the confidence to be honest communicators, to ask questions, to handle criticism, and to create personally important pieces.  More than that, it provides them with an outlet of expression and a sense of pride in their own work.

Speaking of that sense of pride, I would like to inform you all of a few exhibition opportunities for our students this year.  Showing student work publicly is an important part of the art curriculum, and important to students’ pride and work ethic.  Firstly, we have a Biannual Student Art Show at the end of every semester here at the school where we exhibit the best pieces of each student enrolled in our art classes.  In addition, the school district holds an annual juried art show at the district office.  Beyond the local level we also send student work to participate in the State Fair, the Young Artist’s Show at Unnamed University, shows at the county community center, and Scholastic Art Awards.

Again, I am very happy to welcome you all this semester and I look forward to working with you.  If you ever have any questions, or need to reach out to me for any reason at all, please feel free to contact me at (555)555-5555 or exampleemail@unnamedschool.art.net.  Thank you, and take care.

Sincerely,


-Nathan G. Smith

Tuesday, February 16, 2016

Week #6: Color Theory Exercise

This week we continued our discussion of color theory, and worked on our monochromatic filtered self-portraits.  We were asked to think about how we might teach color theory to a class of our own, and this is what I got after giving it some thought:

I would begin a lesson in color theory by introducing the color wheel and its associated vocabulary.  I would make sure to cover primary, secondary, and tertiary or intermediate colors, as well as tints and shades.  Then I would cover color schemes and combinations as they relate to the color wheel.  We would cover complimentary colors, analogous colors, and color schemes including the triadic, split-complimentary, tetradic, and square.  In order to supplement this information I would have students complete their own color wheels in order to experiment with the mixing of color.

(Retrieved from:  http://blog.asmartbear.com/color-wheels.html)

(Retrieved from:  http://ideas.demco.com/blog/space-planning-design-103-choosing-colors-fabrics-finishes/)

(Retrieved from:  http://www.donsmithpaint.com/Don-Smith-decorating.php)


Following this discussion and activity I would try to gauge the interest of the class.  In an advanced class, or one that shows particular interest I might introduce the concepts of additive and subtractive color.  I would distribute diagrams and discuss the physics of light, tying the concepts into the modern technology of screens and printed images.

Additive & Subtractive Color Systems - based on reflected
reflected and transmitted light.
(Retrieved from:  http://obsessive-coffee-disorder.com/tag/color-wheel/)

The "Correct" Color Wheel,
taking into account physics
of visible light and color.
(Retrieved from:  http://blog.asmartbear.com/color-wheels.html)


Next I would introduce the actual long term project and ask students to begin working.  I would have them produce contour drawings of interesting objects from the room, or that they bring into class.  I would provide them with photographs of the objects filtered through Photoshop in order to block colors and values together (i.e. posterize or cut-out filter).  The students would use these photographs as reference material to draw the contours of the areas of color.  Next the students would divide their paper into nine sections, in the form of a grid with pencil.  Each of these sections would then be painted in to match the values of color on the photograph, but with each section of the grid adhering to a different color set or color scheme.  As a result students would be able to experiment with more colors and combinations than a traditional drawing or painting, or even a similar project featuring a single color scheme.

Examples of similar projects from the net
can be seen below:


color-theory-lesson-plan


Week #5: Colored Pencil Project

At the end of the week last week the class discussed Long Range Planning, as well as Pacing Guides and ADEPT Assessment.  They also practiced colored pencil shading and drawing techniques.  Regrettably I was absent, and missed this instruction.  However, I want to complete a blog entry for this topic anyway.

If I were going to teach a comprehensive colored pencil project I would begin by having students experiment with shading and value.  I would have them practice on worksheets similar to those used in graphite or charcoal drawing – producing graduated and gradated value scales.  I would make sure to explain the similar technique for shading with graphite and coloring with pencils.

My own example of value scales completed
using graphite.

An example of value scales using colored pencil.
(Retrieved from:  http://www.wetcanvas.com/forums/showthread.php?t=316172)


Next I would have students practice mixing and blending colors.  I would execute this exercise with an approach similar to the one we explored in class last week.  Students would be asked to produce a gradated color spectrum of colors, first from a wide variety of pencils and colors, and then with a limited number of pencil(based on either the primary color wheel or on subtractive color).  Afterward, I would have students produce small color thumbnails in which they layer colors in different orders and compare the results.


An example of a color scale and thumbnails from class.
(Retrieved from:  http://libbyteachingart.blogspot.com/2016/02/color-pencil-shading-so-get-out-your.html)

An example of my own color mixing practice
with a limited number of pencils.

An example of a different method for creating
color-combination thumbnails.
(Retrieved from:  https://www.youtube.com/watch?v=AxZ0vZDEuQg)


After going through these exercises I would introduce the actual project or assignment.  In this case, I would have students produce colored drawings of a small still-life set up on their tables.  We would begin by sketching out thumbnails on newsprint, and then move on to larger drawing paper.  The students would sketch out their compositions lightly in graphite with a focus on attentive observation.  Then they would be asked to shade in the subjects of the still life with the colored pencils.  If any students were showing interest or concern, they would be given the option of completing a monochromatic image or a polychromatic image (assuming the class has covered color theory previously).  As a result of the lesson each student would produce a unique piece, even if they were looking at the same still-life.

Below are some examples of artworks similar
to the project described above found from
various sources across the internet.


Monday, February 15, 2016

Week #5: Enduring Ideas - Unit and Lesson Planning

This week we discussed techniques for unit planning using a unit and concept based flow-chart.  The thought pattern for the planning starts with the broad concepts and overall goals and works down to the specific day-by-day lessons, activities, and assessments.

An example of the physical flow chart
discussed in this article.

An example of this planning technique would be to begin with the entire unit or class theme – for our example lets use Photography.  The next step in this process is creating your lessons, projects, or products.  In this case let’s plan a lesson in shutter speed, a lesson in selective focus, a landscape lesson, a portrait lesson, and a conceptual lesson.  From this point we plan each lesson in greater detail.

In the landscape lesson, for example, we would then plan our key concepts.  We would want our students to understand how to create compelling landscape photographs using the rule of thirds and either landscape or portrait orientation.  These would be our key concepts for the lesson: picture making, rule of thirds, and landscape versus portrait orientation.  As a result of these concepts our essential questions might be something like:  “How can I use the rule of thirds to create a powerful composition?” Or “How can I change the way viewers look at a scene using different formats or orientations?”

Next we can plan the objectives for our lesson.  In this case, the students will produce three final landscape photographs illustrating the rule of thirds, landscape orientation, and portrait orientation.  We can also add standards to our lesson at this point, fitting the objectives we have set.

Lastly we would plan each individual day of the lesson in question.  Each day is meant to have a lesson, activity, and formative assessment.  For our example lesson we could spend the first day introducing landscape photography, discuss landscape photographers from art history, and introduce camera techniques like using a tripod.  The activity on this day could simply be having students practice with cameras and tripods – taking photographs around the room or school.  The formative assessment for this day would be the images they produce.  The teacher would look at these images to make sure students understood how to take a properly exposed, level, focused photo. 

The next day’s lesson could be the introduction of most of our key concepts.  We could have students sketch landscapes, as well as practice photographing them for the activity.  After firming up the lesson this way the teacher could formatively assess students understanding by speaking to them about their images and their ideas for the project.

The third day might be have a shorter instructional period, simply recapitulating the concepts and techniques introduced in the past two lessons.  The activity would be students working on their images around the school.  The formative assessment in this case would be the teacher checking to make sure students are making progress during this “work day.”


At the end of the lesson we need to plan a summative assessment to test the overall learning of the students.  Luckily the summative assessment in this case would simply be the images the students produce as their final work.  If their work illustrates the concepts, meets teacher expectations, and shows thoughtful or purposeful creation then it can be judged a success.

Thursday, February 4, 2016

Week #4: Unique Exercise - Graffiti Stencil Project

In our second class of the week we attempted to build our own lessons based upon literature provided for us and with materials around the room.  I chose to explore a lesson I would like to do with my future students focusing on graffiti.  I found a wonderful chapter in Art Synectics by Nicholas Rolkes that discussed at length the importance of, and the differences between, visual signals, signs, symbols, and codes.  There were a variety of great activities and examples for lessons included at the end of the chapter, and one jumped out at me.  It featured students bringing an object or material in to make graffiti on by scratching, painting, or writing.

My source material and inspiration for this lesson:
Art Synetics by Nicholas Rolkes

The particular lesson I drew inspiration from.


I adapted this lesson and used found material as the basis for an idea of what graphic symbol to create and impose on the material.  I decided that the project would focus on the elements of line and shape, which would in turn create the principles of emphasis and contrast. 
The meaning presented by the symbol would be up to the student, and influenced by the backing material.  I had a small block of wood, so I chose to make my image center on sustainability of trees and deforestation.

I began by sketching my ideas onto scrap paper, and then transferred my strongest design onto a new piece of paper.  I then cut out my design using a cutting board and Exacto knife.  Afterward I placed the newly formed “stencil” onto the board and taped it still.  I then painted black acrylic paint over the stencil and onto the board with a small paint roller.

A couple of different concept sketches.


The stencil on the left, and the cut-out negative
space on the right.

My final product.


For students, I would make a few changes to the process in order to make things go more smoothly.  I would have them work on a larger scale, I would have them cut their stencils out of cardstock, or thicker paper backed with tape, and I would have them use actual spray paint (safely and outdoors).

In addition, for this lesson I would need to include components of criticism, art history, and discussion.  I would love to introduce Shepard Fairey, Above, and Banksy (among others, such as Gaia and Swoon) as contemporary examples of street artists who use graphic stencils to create art.  However, I would also like to include examples from art history such as the blown hand-print cave paintings from all over the world, and perhaps examples of similar graphic printmaking by Santiago Armengod.  Luckily the contemporary artists will be easy to make relevant due to the fact that they are currently active, controversial, and involved in the digital world of social media.  I also think that this discussion of street artists could lead to an interesting discussion about the status of art.  I would like to ask students what they think about art they find in a gallery versus art on the sidewalk, and how that changes their perception of the work.

Stencil work by Shepard Fairey.
(Retrieved from:  https://stakeholderdoce.wordpress.com/2014/11/26/obey-the-art-of-phenomenology/)

Stencil work by Banksy.
(Retrieved from:  https://www.popularresistance.org/bloomberg-threatens-bansky-with-arrest-for-outside-art/)

Cave paintings, similar to stencil graffiti.
(Retrieved from:  https://en.wikipedia.org/wiki/Cave_painting)

Print by Santiago Armengod.
(Retrieved from:  http://revista-amauta.org/2013/06/humanity-imperiled/) 

Week #4: Still Life Drawing Exercise

This week we played the role of high school students engaging in a long term, large scale still-life drawing in graphite.  We began by learning about the density and darkness of different graphite pencils on the HB scale, and we performed a couple of rudimentary shading exercises.

An example of a value exercise for graphite.

A pre-completed example of an extension to the value exercise.


Afterward we made three thumbnail sketches of different compositions on newsprint.  Next we made a full-scale contour drawing of the still-life composition we chose, and transferred the contour lines to Stonehenge drawing paper.  Once we made the line drawing we began to add value by shading using the techniques we practiced at the beginning of the lesson.


The still life example from our class session.

My thumbnail sketches.

My full scale contour drawing.

My drawing (as developed as it could get during the session).

Below are some other student's examples from the session.


Personally, I had difficulty with the subject matter of the still-life.  Reflective, clear glass on a rather complex, patterned cloth is a difficult thing to render in a drawing.  Students would probably struggle with this subject matter of the drawing, especially in an earlier or lower level class.  Students might also make mistakes in their shading technique if they feel rushed to complete the drawing, or in the objective realism of their drawing.  They might lose sight of the overall composition because they are focusing so tightly on small details and values.  I think the best advice for students would be to slow down, shade the way they did in their exercises without visible pencil lines, and draw what they actually see rather than what they imagine is correct – the way they did in their blind and modified contour drawings.

Below are some extremely successful examples 
of complete works from actual high school students.